Waist Band MockUp
- Familiarize you with the sewing machine and basic, standard best sewing practices.
- Draft a waist band prototype from paper
- Sew a cotton, elasticated waistband
- Fit the waistband
- Wear the waistband
A cotton, elasticated waist band is a closed, circular casing containing elastic. The casings is sewn with wearing ease allowing a person to take off and out on garment. The width of the casing is determined by the width of elastic and a small space so the elastic will pull through the casing. The overall dimensions of the casing are determined by the elastic, space adjacent to the elastic, and the construction of the casing.
The casing width will be a double fold of fabric, number and size of fold overs, and the length will be waist measurement + ease + 2(seam allowance). An opening in the casing is left when the fabric is sewn WS to WS so the elastic may be inserted and sewn together. The opening is sewn closed after the elastic is inserted and the length is approved with fitting.
Design paper waistband protype
- appropriate length for waist
- appropriate width
- having two 1/2″ folded over edges
Sew Paper Design into Cotton Mock Up

Steps
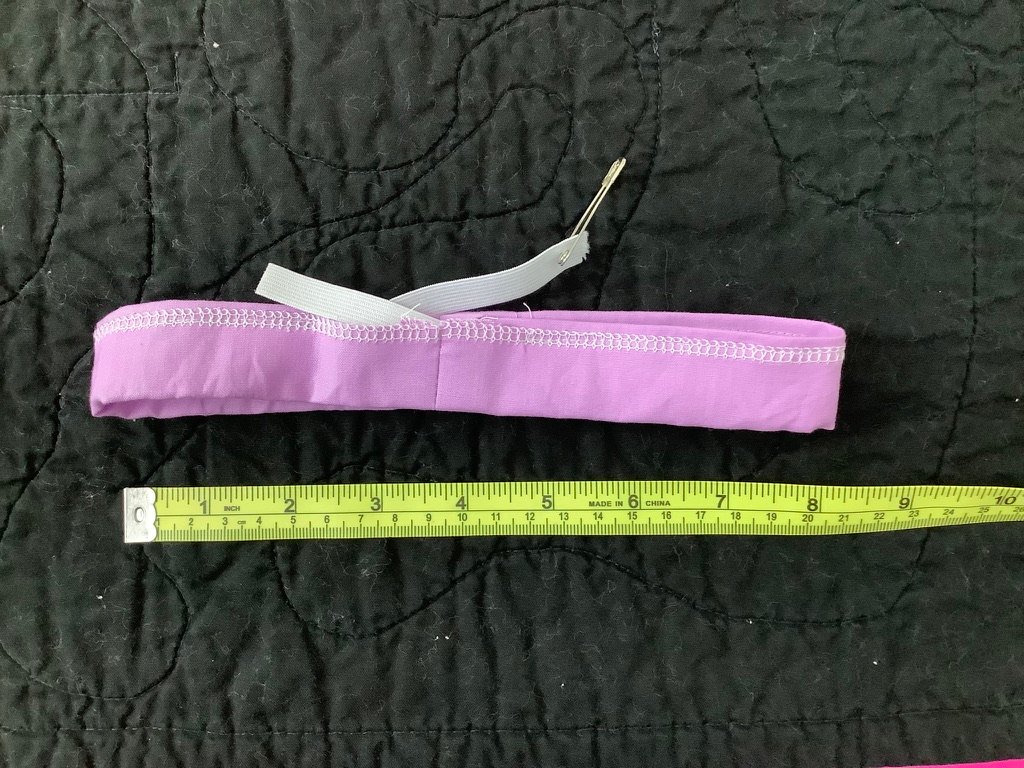
- folded over top and bottom edges 1/2″, press, and stitched 1/4-3/8 from the edge
- with fabric RS to RS, fold fabric edge to edge the length of the waistband and press to create a crease
- with fabric RS to RS, stitch the ends at 5/8, creating circular waistband
- stitch edges together, leaving a 2″ opening to insert elastic
- insert elastic
- sew ends of elastic together
- sew opening closed
- using paper, design an 8″ mock up of your waistband
- translate paper design into fabric waistband
- create the waistband
Preparation for Lesson 1
- Catherine Sews (YouTube), “How to Draft a Skirt Sloper”
- Catherine Sews (YouTube), “5 Skills You Need to Draft Patterns for Fashion Design”
- Made to Sew (YouTube), “How to: Measure (Fitting, Dressmaking, Sewing”
- Meghan Grace DIY (YouTube), “How to Properly Take Men’s Clothing Measurements”
- seam guage
- ruler
- paper scissors
- fabric scissors or rotary cutter
- fabric
- elastic: 1/4, 1/2, or 3/4
Christmas Tree Napkin
The napkin is my take on Donna Jordan’s (Jordan Fabrics, Grant’s Pass, OR) YouTube “Fastest Last Minute Christmas Tree Napkins!” https://www.youtube.com/watch?v=dUQaPg1oAnA. The napkin requires two fabrics for the tree and a 3rd or scraps for the tree trunk: a total of 4 pieces of fabric for each napkin. The are 2 main pieces and 2 trunk pieces. From two 1/2 yards of fabric, 4 napkins can be sewn. A 2 1/2″ strip may be used for the trunk.
Step 1: prep and cut fabrics. Wash and iron/press fabrics. Main fabrics: two 9″ x 18″. Two 2″ x 2 1/2″ trunk pieces, with the 2″ side as the vertical part of the trunk.
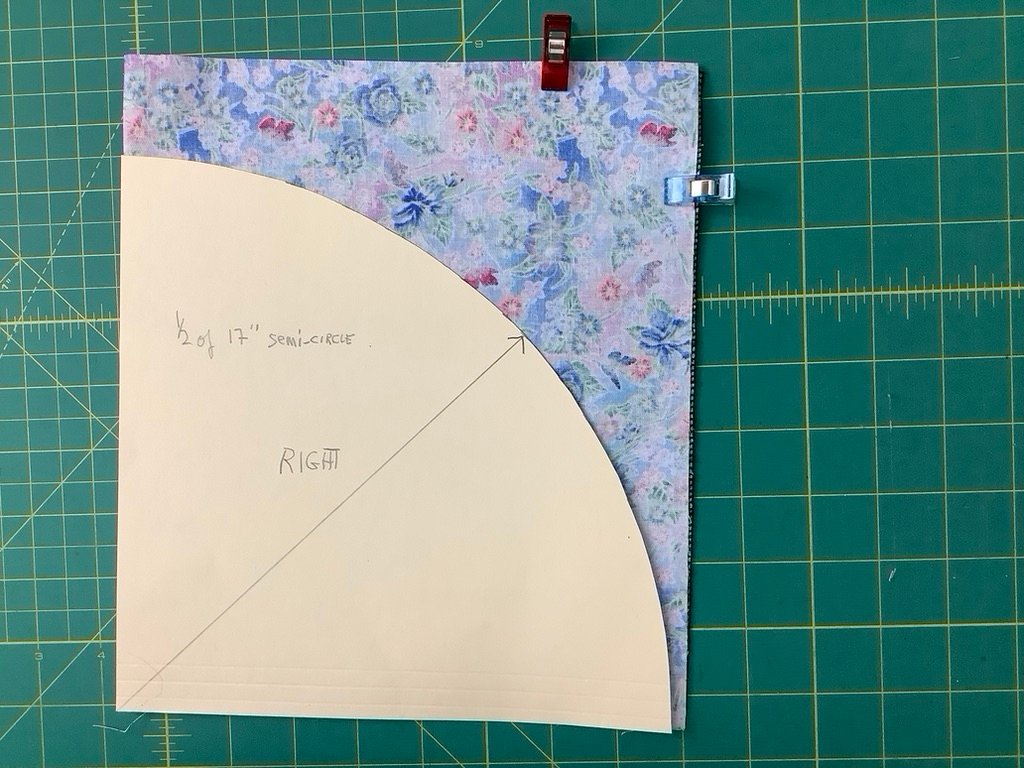
Step 2: make a template from a manila folder, or equivalent stiff material. The template is 1/2 of a semi-circle with a radius of 8 1/2″.

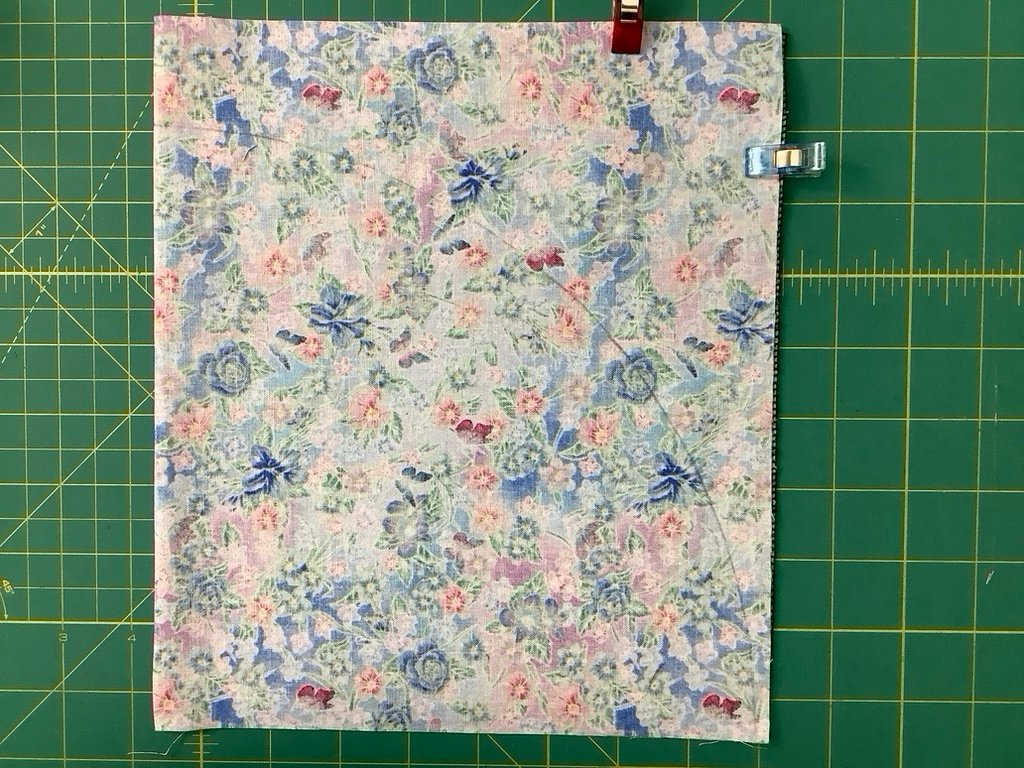
Step 3: With main fabric folded in half, mark half of semi-circle onto wrong side. With fabric folded, turn fabric onto other side and mark other half of semi-circle.

Step 4: place main fabrics right sides together, pin or clip, cut.
